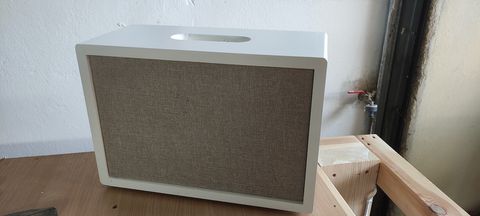
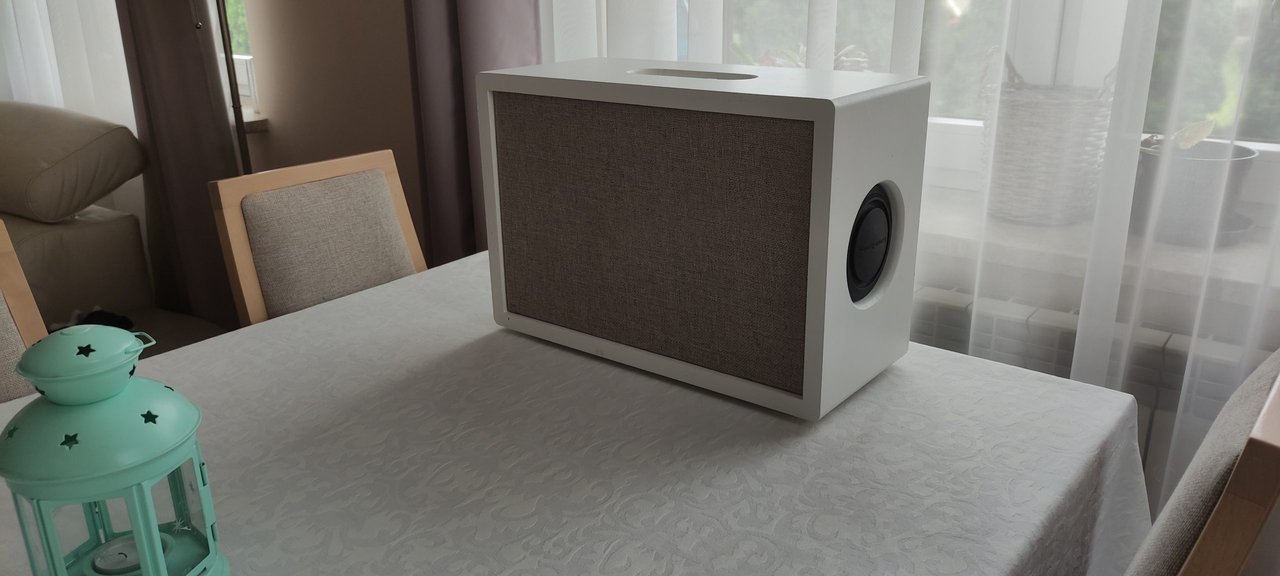
A finished white Bluetooth speaker with a grey fabric grille

DIY Projects

Bluetooth Speaker for the Garden

Portable Bluetooth speaker for the garden pergola: MDF box, 3D-printed speaker rings and adapters, ready-made amplifier module, and fabric grille. Step-by-step photo report from the construction process.

17/08/2021

If you follow me on Instagram, you already know about this project. Now it's time for a summary: a Bluetooth speaker, or more accurately, a garden column with Bluetooth functionality.

I had been putting this together for a long time and in the meantime I collected all the parts. There are more and more ready-made electronic circuits on the market, so I didn't have to design the electronics myself. I could focus on the construction.

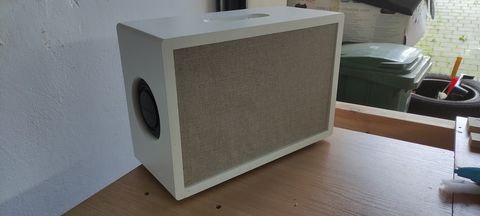
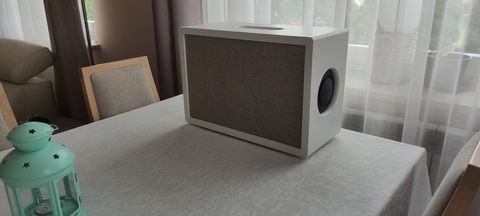
A finished white Bluetooth speaker with a grey fabric grille
Completed speaker with fabric grille

Cutting and Holes

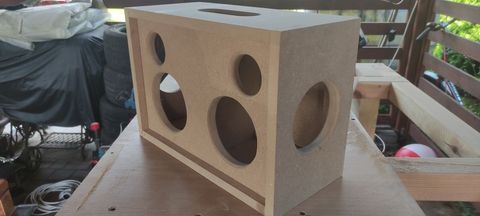
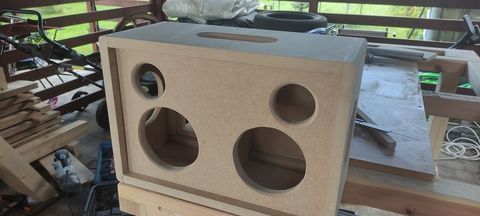
The box is made of MDF board. First, I drew and cut the walls, then drilled holes for the speakers and the handle.
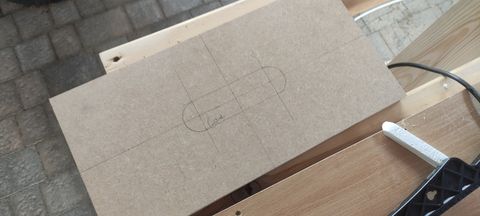
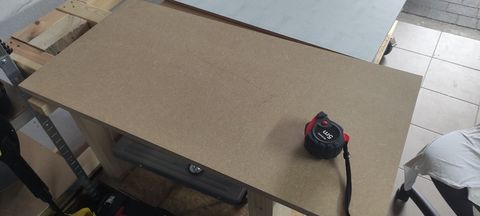
MDF board with a pencil outline of a handle hole drawn on it
Cutting an MDF board along a guide, with a retractable tape measure nearby
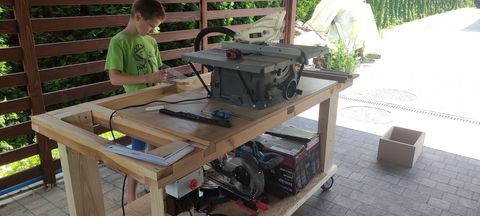
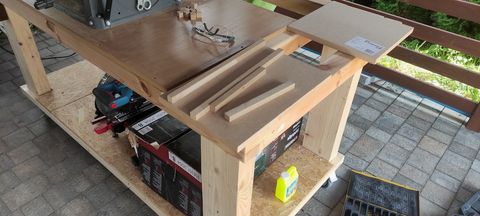
A workshop table saw set up under a shed
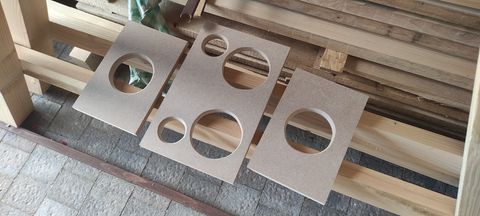
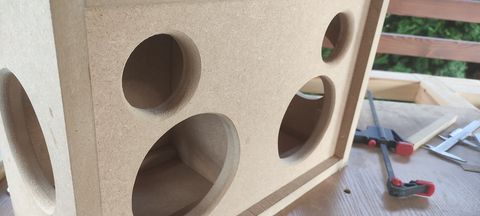
Trimmed MDF walls with speaker cutouts
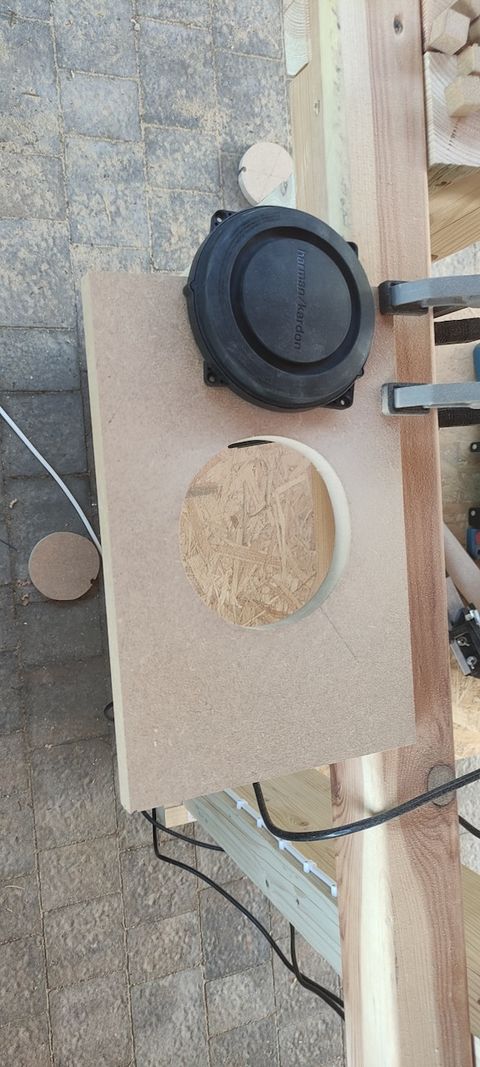
Cutting a circular hole in a plate next to a passive membrane
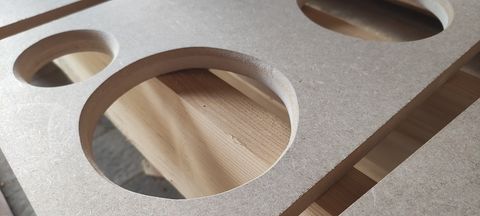
A close-up of a freshly cut hole in MDF
A wall with several holes for speakers of different sizes
A painted side wall with a large opening

Assembling the cabinet

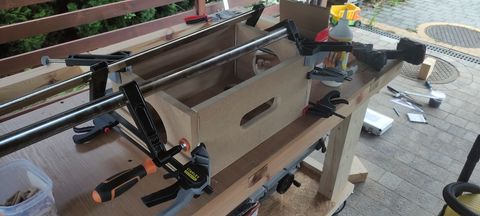
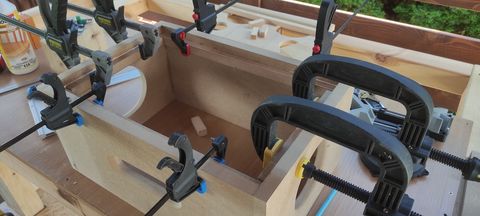
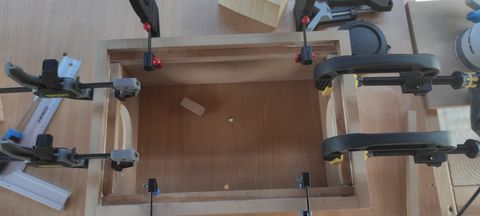
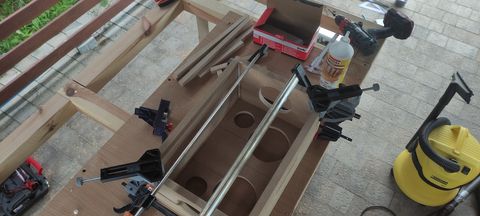
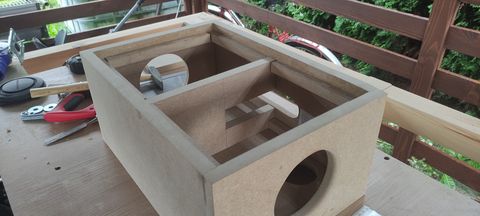
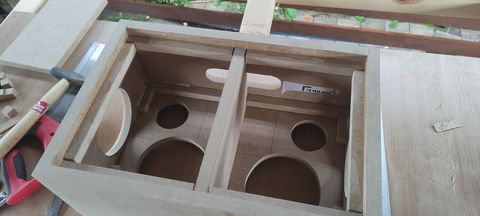
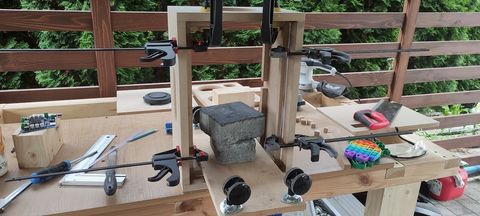
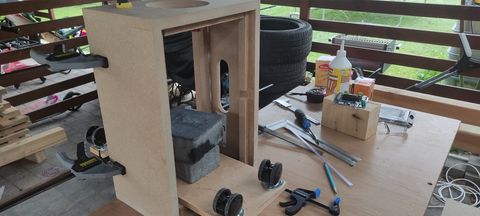
I joined the walls using dowels and glue. There is a divider inside that splits the box into chambers. All the clamps I have came in handy for gluing, and at the end, a stone was also used as a weight.
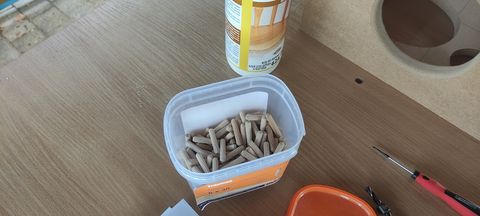
A container with wooden pegs and a bottle of wood glue
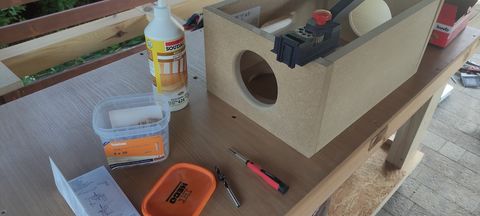
Box walls assembled at a right angle, with glue and tools nearby
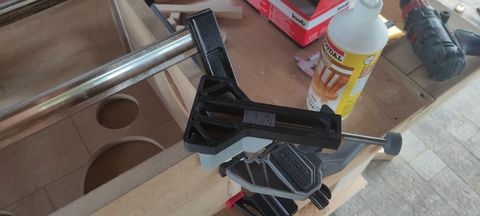
A corner clamp holding two walls together while gluing them
A wooden box with a handle hole being glued together under clamps
Woodworking clamps at the corners of a glued box
Interior of a glued box from a top view, clamps at the edges
Assembling a box with a divider inside, clamps and strips on the table
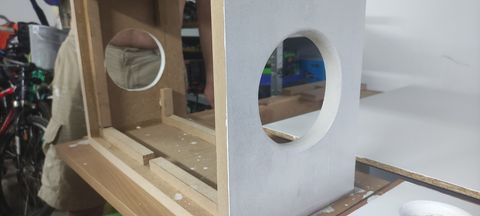
A glued-together box without a front panel
Interior of a box with a partition separating speaker compartments
Two internal compartments of a box with speaker openings, viewed from inside
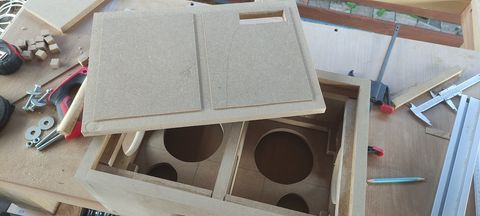
A box lid with a cutout for the control panel is placed over an open box
A glued box under the weight of a stone, clamped with multiple clamps
A box standing vertically on a workbench while the glue dries
A glued MDF box with holes in the front wall
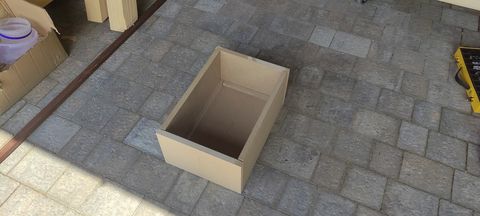
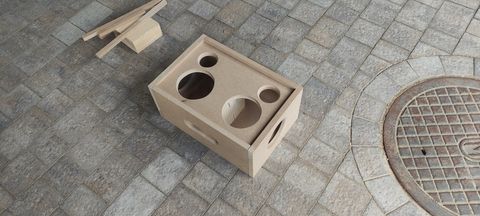
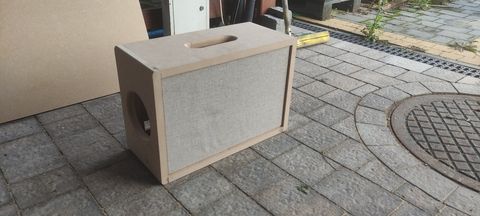
An MDF box with holes sitting on pavement stones
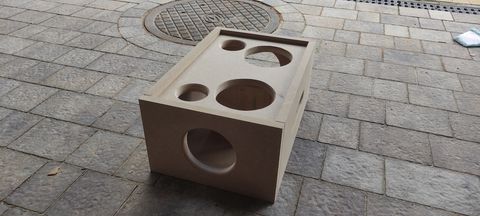
A raw wooden crate with a handle hole at the top and speaker holes
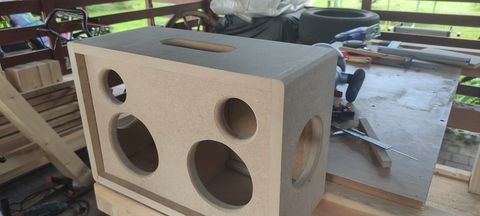
A MDF box with routed hole edges
Front panel of a box with four speaker openings

3D Printed Parts

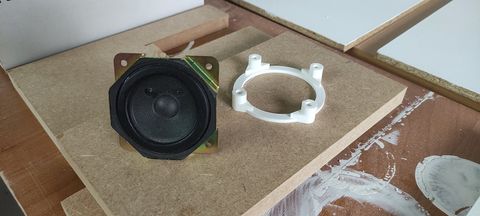
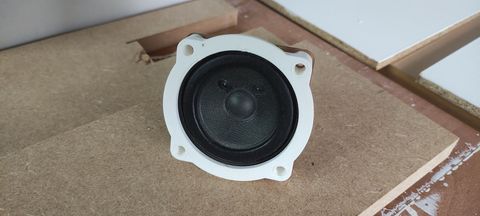
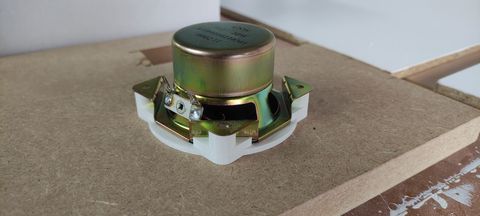
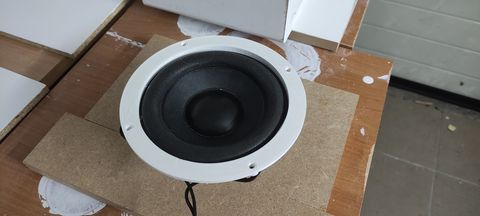
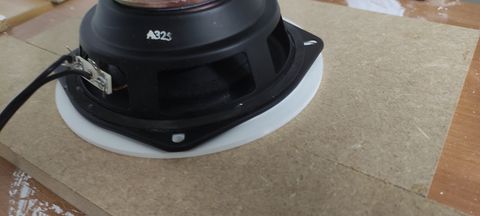
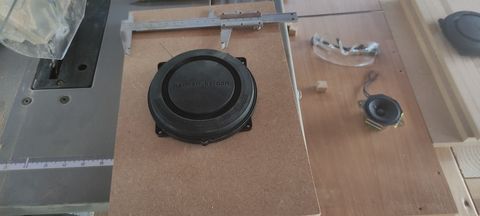
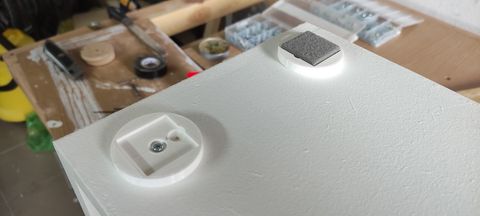
I printed the masking rings, square speaker adapters, and feet using 3D printing. This ensures each speaker fits snugly in its hole, giving the whole setup a cohesive look.
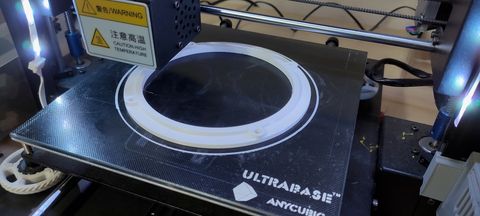
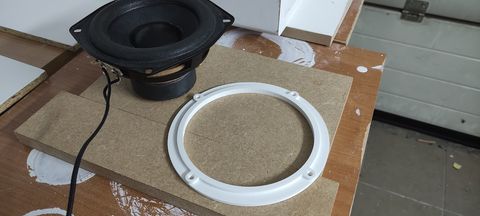
A white masking ring printed on the Anycubic printer's build plate
A printed ring next to a woofer speaker
A square speaker and a printed adapter for a round hole
A speaker embedded in a printed white adapter
Speaker from the back in a printed adapter, visible magnet
A speaker with a white masking ring
A large bass speaker placed on a ring
A passive membrane measured with a caliper

Painting and finishing touches

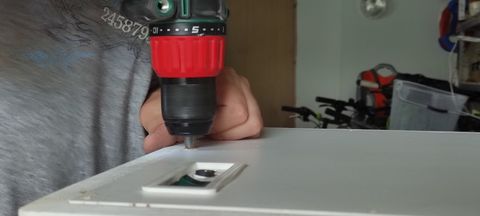
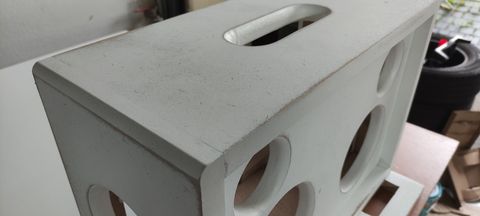
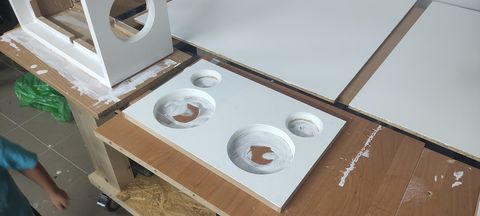
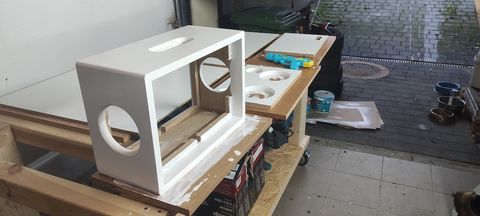
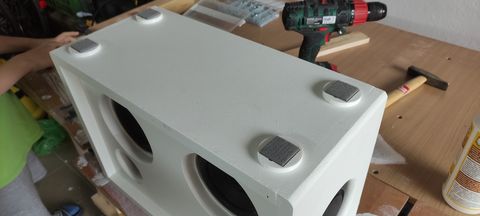
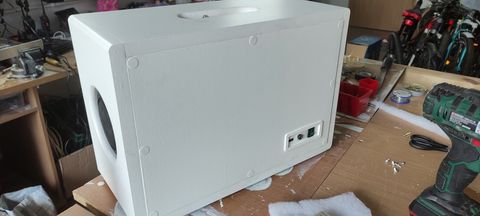
I painted the box and covers white, and added felt pads with feet on the bottom.
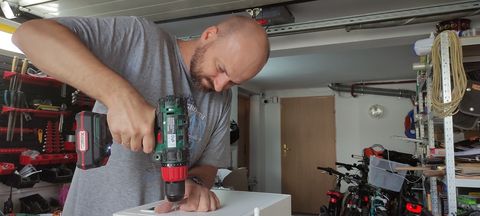
Drilling holes in a painted wall using a cordless drill
Screwing a component into a painted cover
A close-up of a white-painted edge with a hole for a handle
A painted front panel with speaker holes
A painted box without a front and a panel with holes next to it
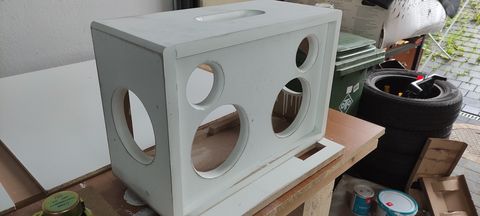
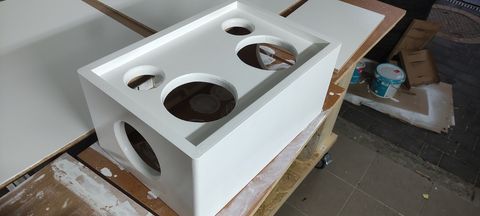
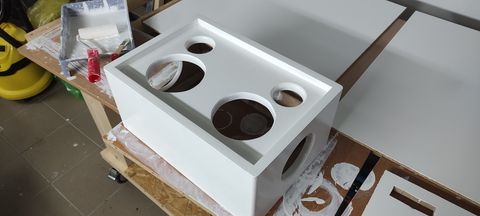
A white box with speaker holes after painting
A white box viewed from above, with holes in the front panel
A painted box with four holes
The bottom of a speaker with felt feet glued to it
Close-up of a printed foot with felt pad
Colored boards drying on a table in a workshop
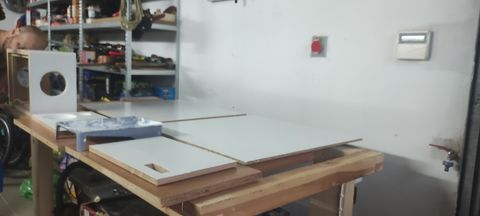
Colored covers with a cutout for the panel
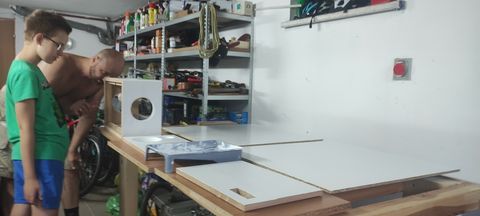
Railings for frame cover on a workshop table

Electronics and control panel

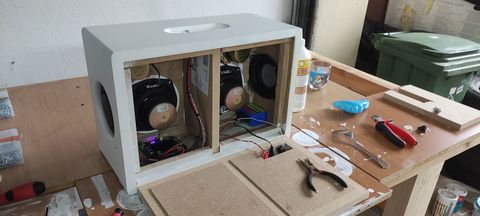
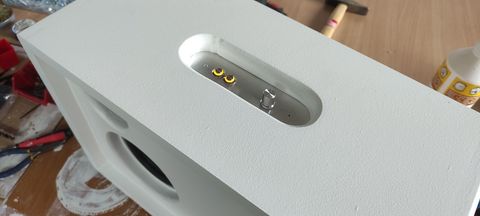
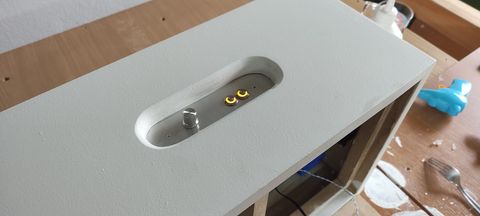
The electronics are ready-made modules: an amplifier with Bluetooth and charging. First, testing on the table, then assembly in the box. The panel with the volume knob and illuminated buttons is in the recess of the handle, and the sockets are at the back of the casing.
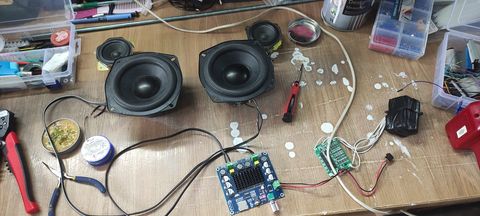
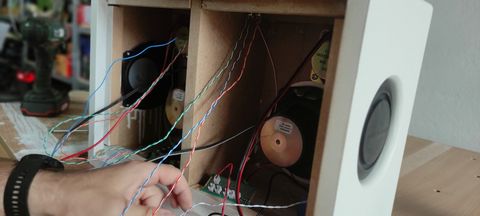
Speakers connected to an amplifier board with a heatsink and a charging module, pre-assembly testing
Wires routed inside the box to the speaker
An open trunk with mounted speakers and electronics in two compartments
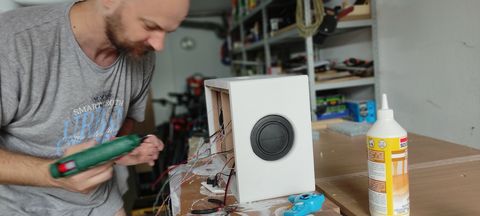
Installation of a passive membrane in the side wall, cables on the table
Control panel inside the handle recess: a knob and illuminated buttons
Volume knob and two orange-backlit buttons in the handle
Back of the speaker with a panel of power and audio connectors

Grille and effect

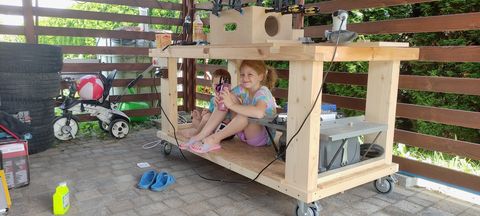
Finally, the frame is covered with fabric on the front. In the last photo, my helpers can be seen.
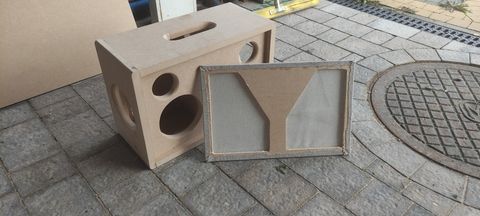
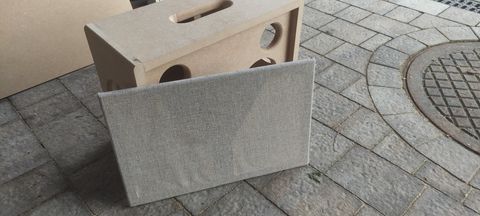
A fabric-covered speaker grille next to a raw wooden box
A light-colored fabric cover over a grille or panel
Trying out a cover plate on a raw MDF box
A white speaker with a grey grille covering it
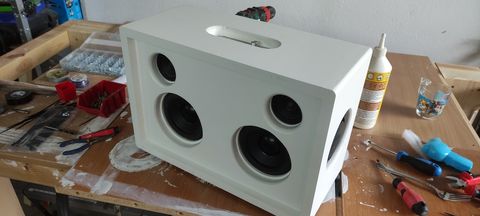
A completed speaker with a grille and passive radiator on the side
A finished speaker with a fabric grille and a handle on top
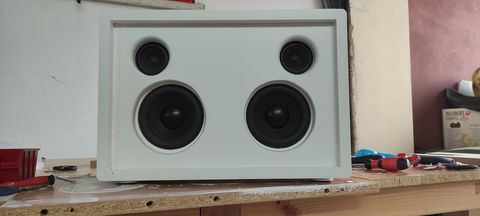
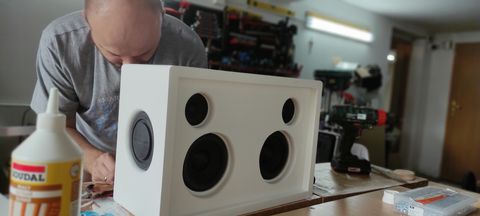
Front of the speaker without grille: two tweeters and two woofers
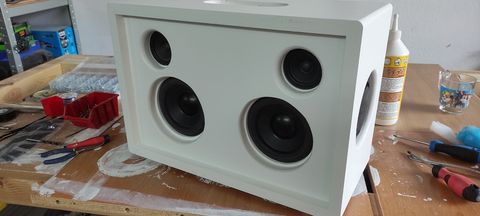
A speaker without a grille, showing four visible speakers
Close-up of speakers embedded in white rings
A speaker without a grille, with a passive radiator in the side wall
Children sitting on a workshop trolley under a finished speaker cabinet

How It Plays

Fairly okay. It works great in the garden under the pergola - the sound carries really far. But at home, I still prefer my audio system.

One thing I know for sure: I gained experience, and that will stay with me forever.